Category: Top

  • Multi-day Hike Essentials for Hiking in New Zealand

    Multi-day Hike Essentials for Hiking in New Zealand

    Before setting off on a multi-day hike, there are several important multi-day hike essentials you need to organise.

    Hiking is such a good way to stay healthy. Dom and I have just done a 5-day hike of the Abel Tasman National Park in the South Island. We wanted to be prepared for any eventuality, consequently, we spent a few weeks thinking about and researching what to bring with us.

    Since it is winter here in New Zealand, we had to consider warm clothes and the what ifs in case of heavy rain etcetera. We did not want to have to carry super heavy backpacks either, therefore we had to choose items that would not have had a huge impact on the weight.

    Remember, those multi-day hike essentials should be essentials. Think about what you really need to survive those days rather than what you would like to have with you.

    There are huts and campsites along the hiking traks. Dom and I stayed in the huts because it was very cold.

    multi-day hike essentials

    Multi-day Hike Essentials List

    Comfortable and good quality boots

    Your boots need to be your priority. You will be walking a lot, therefore you need comfortable boots. Best if they are high up to your ankle. You also want to make sure they are waterproof. You do not want wet and sore feet because they will make your walk miserable.

    A light and comfortable backpack

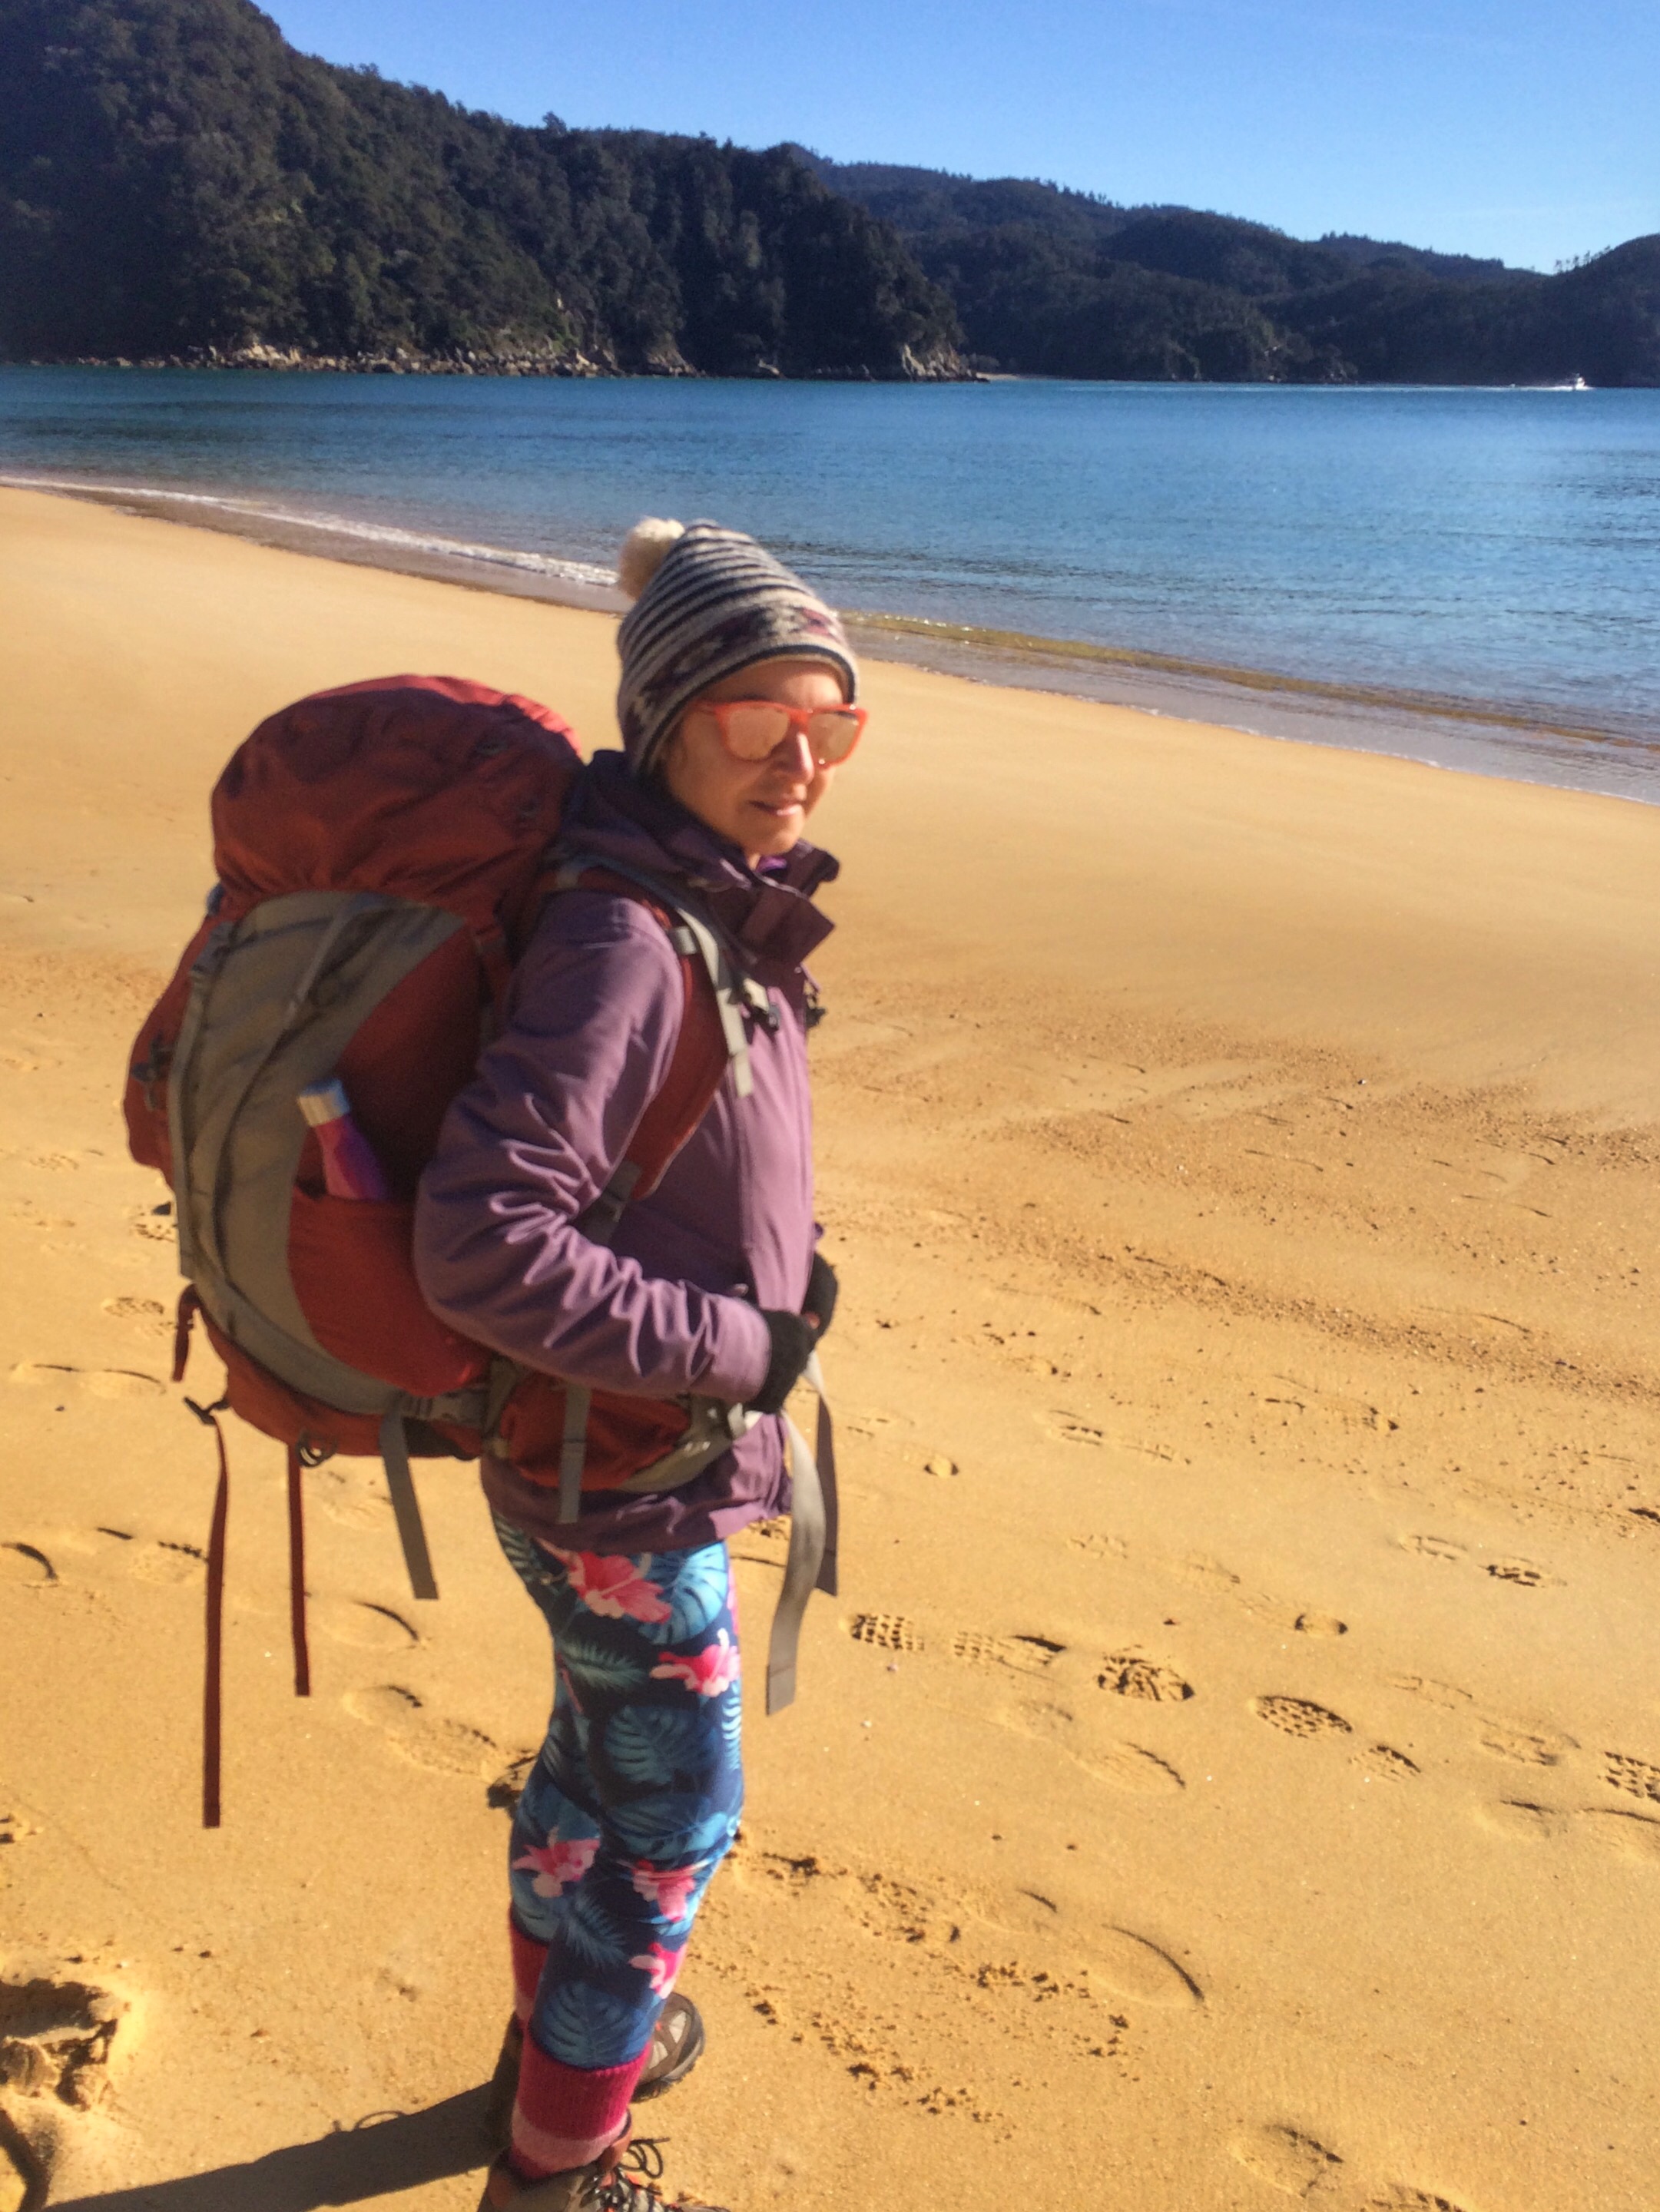
    I have an awesome backpack. It is light, small and super comfortable on the back. I am a small person (1.52mt at the most and quite slim), the last thing you want if you are a pint-sized woman is a bulky and heavy backpack. My backpack of choice is an Osprey Kestrel 58 which is already 4 years old. I looked online and could not find it anymore, but you can still easily find an Osprey Kestrel 48 (identical to the one I have just a little bit smaller) or a Kestrel 68. They come with a rain cover which is a great add-on.

    A cosy and warm sleeping bag

    If you are are hiking during winter or in a place where it might get cold at night, a good quality warm sleeping bag is definitely one of the must-have multi-day hike essentials.

    multi-day hikes essentials

    Thermal undergarments

    These are a must if you are hiking in cold weather. Make sure to have two changes of merino wool (preferably) or polypropylene tops and leggings (just in case one gets wet or smelly). Wool is 100 times better as it does not smell and it does not seem to get wet either. If it does, it will dry fast. To be honest, I used the same merino top under my fleece for the whole 5 days and it was perfect. Remember as long as your core is dry and warm, the rest does not matter.

    A change of clothes to wear in the night

    If you get wet during the walk, the last thing you want is to stay wet throughout the night. Bring a spare change of clothes to change into.

    Wolly or thermal hiking socks

    Again, you want to take care of your feet. Count these in your multi-day hike essentials; remember happy feet happy you. Bring one pair of socks per day just to make sure you have enough. You can wear a good pair of wool socks for a couple of days.
    multi-day hike essentials

    Waterproof jacket with hoodie

    Just in case it rains, you want something to help you stay dry. An emergency poncho is also handy.

    Towel

    Pack a micro fibre fast drying towel. It does not take much room in your backpack and it dries fast.

    Camping gas cooker and cooking utensils and pots

    You just need a simple gas cooker, one small pot and a cup plus a couple of spoons. A swiss army knife is also very handy.

    Food

    This is the fuel of your multi-day hike essentials. I can guarantee you that you will be hungry. Yet, you do not want to have a backpack stuffed with heavy foods, hence you have to choose your food wisely. You need food that will fill you up and give you energy:

    • lots of nuts and dried fruit
    • instant porridge sachets
    • packs of dry meals (very light to carry and they do not require cooking. Just add hot water to bring them back to life) and sachets of precooked rice for dinner
    • coffee bags
    • bread rolls, salame and cheese for lunch
    • chocolate
    • energy bars

    Bring food for each day of the hike plus one day of extra food, just in case you encounter delays.
    multi-day hike essentials

    Water

    Bring a bottle of water for the walk. Make sure to pack tablets for treating water as well. There is drinking water in most huts and camping sites but it is better to prepare yourself in case there isn’t.

    Torch and candles and matches/lighter

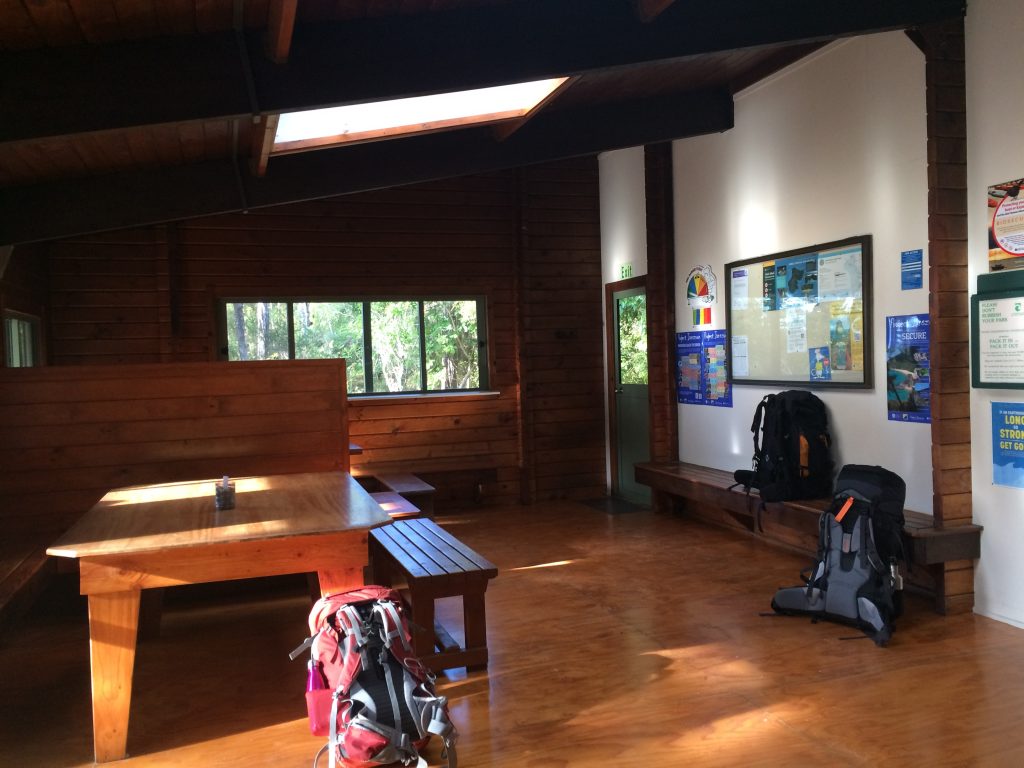
    Be sure to pack these items. There is usually no electricity in the huts and campsites, therefore it will be very useful to have them. There are normally wood burners in the hut. Do not forget matches or a lighter to start a fire.

    Toilet paper and rubbish bags

    Most of the huts and campsites have toilet paper, but just in case bring a roll with you. You also need to take rubbish away with you, make sure you have rubbish bags.

    multi-day hike essentials, hiking, social media

    Final Thoughts on multi-day hike essentials

    These are basically your multi-day hike essentials. Finally, if you have more room, you might want to consider some nice to have items. These might be playing cards, a Kindle rather than a book (for the evenings), a bottle of wine (we had one for the first night), camera, binoculars, pen and paper.

    Prepare yourself for an unforgettable adventure and most of all lots of fun. Probably it will be one of your best adventures.

    Have you done a multi-day hike? What are your thoughts and suggestions? Feel free to comment below or contact me using the contact form.



  • Blueberry Smoothie Recipe Without Yogurt

    Blueberry Smoothie Recipe Without Yogurt

    We all love a good healthy smoothie. Especially when summer time comes; the sun shines and we feel the need for fresh healthy nutrients.

    Fresh fruit smoothies normally come to mind when it comes to make a choice of healthy food or drink. Nutritious smoothies can easily replace a meal on a hot summer day.

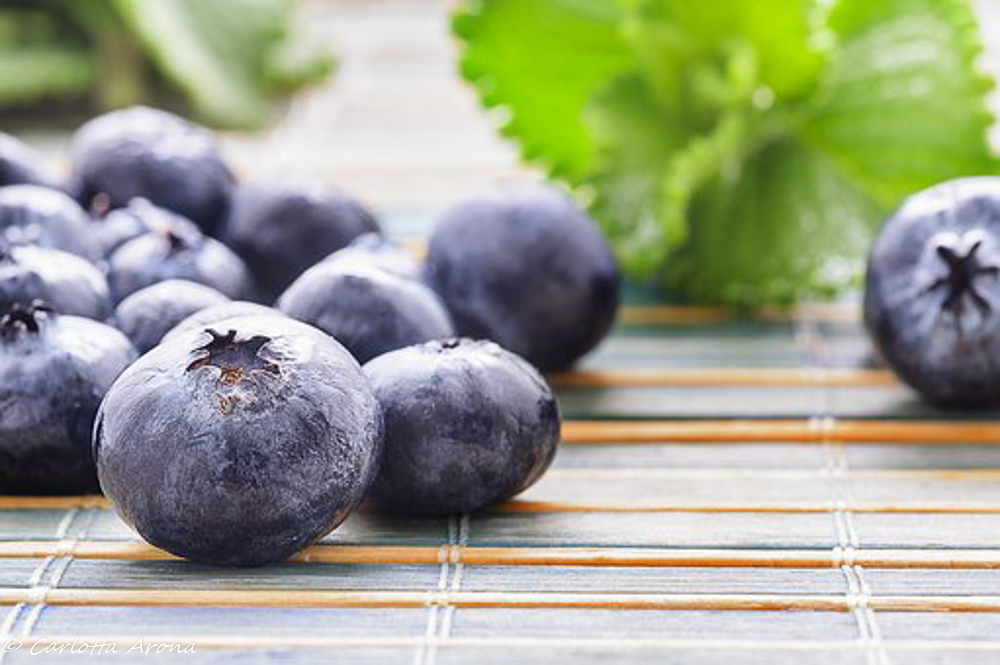
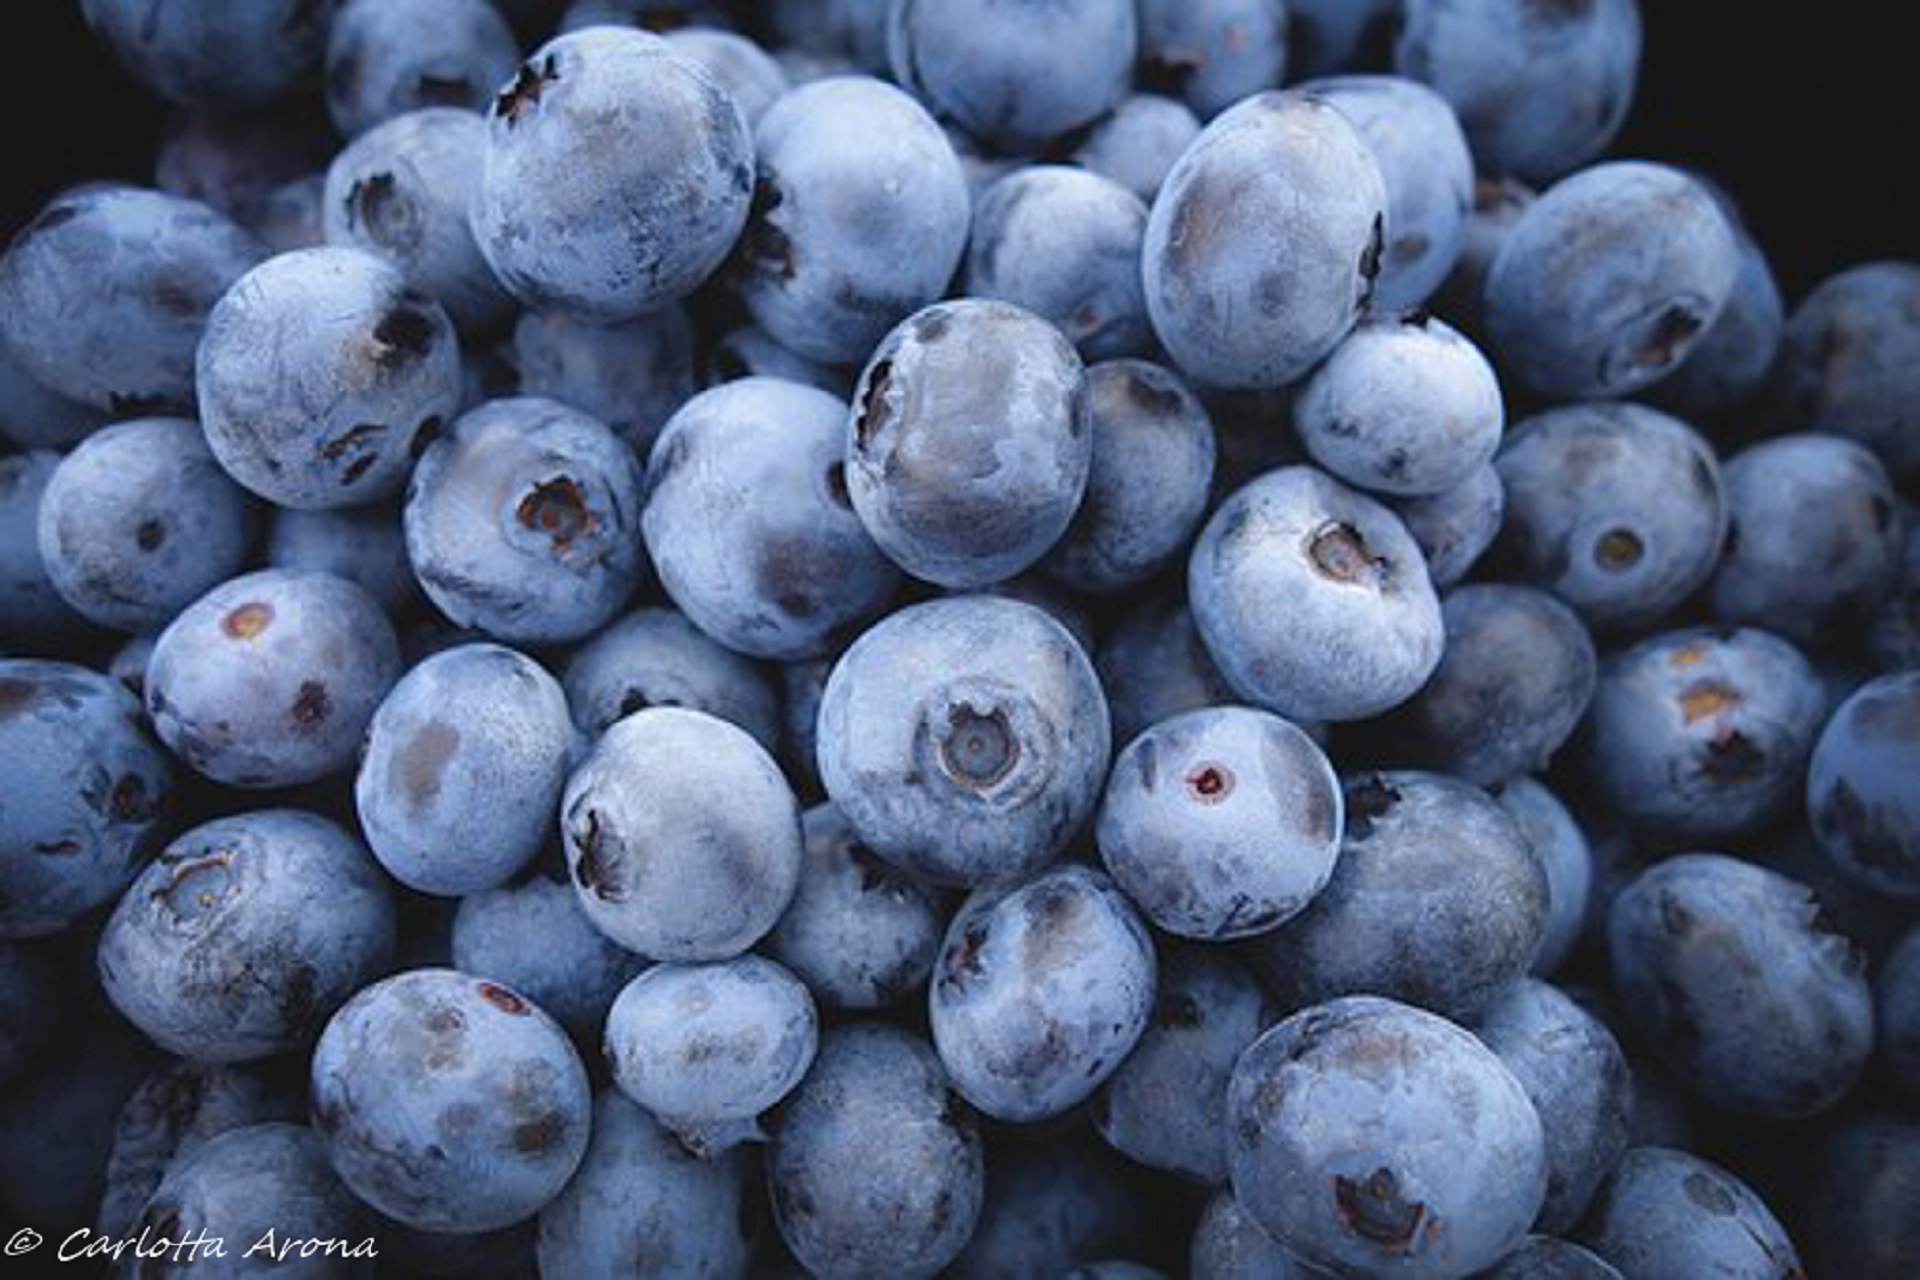
    You can make a smoothie with almost any fruit available. Today I picked blueberries. These incredibly tasty indigo-coloured berries contain good anti-oxidants and are a very good source of vitamin C and vitamin K.

    In addition to that, they provide your body with many more benefits including fighting urinary tract infections and boosting your brain health.

    There are so many different recipes for a tasty blueberry smoothie. It can be done with ice cream, milk, sugar, honey, yogurt, coconut cream, just to name a few.

    It is all up to your taste and fantasy, really. It is very easy to create a tasty blueberry smoothie with the simplest of ingredients.

    Yogurt is one of the key ingredients to make a rich and thick smoothie. However, there are many other different ways to produce a super creamy smoothie even without yogurt.

    If you are not a big fan of yogurt, or you have an intolerance or allergy to it, don’t worry. Here I have a fantastic recipe to make a tasty blueberry smoothie without yogurt but full of goodness.

    Ingredients:

    • 1 cup fresh blueberries
    • 1 cup coconut milk
    • 1 spoon of honey
    • Half a banana to add extra thickness (optional)
    • Some ice cubes

    Procedure:

    Place all ingredients in a blender, ice cubes at last. Blend for 2 to 3 minutes or until smooth and thick.

    Place in your favourite glass and decorate with fresh blueberries.

    Sit back and enjoy the goodness!

  • Cascadas De Agua Azul

    Cascadas De Agua Azul

    Mexico is a country of a thousand colours.

    Finally, with plenty time in my hand, I started to go through the hundreds of pictures taken in Mexico and memories of our time over there started to flow through my mind.

    During our short holiday to rural Chiapas, Dom and I tried to fit in as much as we could. We only had a week and unfortunately, on one of those days, I fell sick with a bad stomach – entirely my own fault for eating bad food  🙂

    We did not want to miss out on the beautiful Cascadas de Agua Azul and Palenque, so we decided to take a day round tour from San Cristobal to be able to see them both. The tour was a bargain at only approximately 400 pesos per person. It did not include meals but it covered for our return bus trip and the entrance fees to the waterfalls and Palenque (no guide).

    img_4269

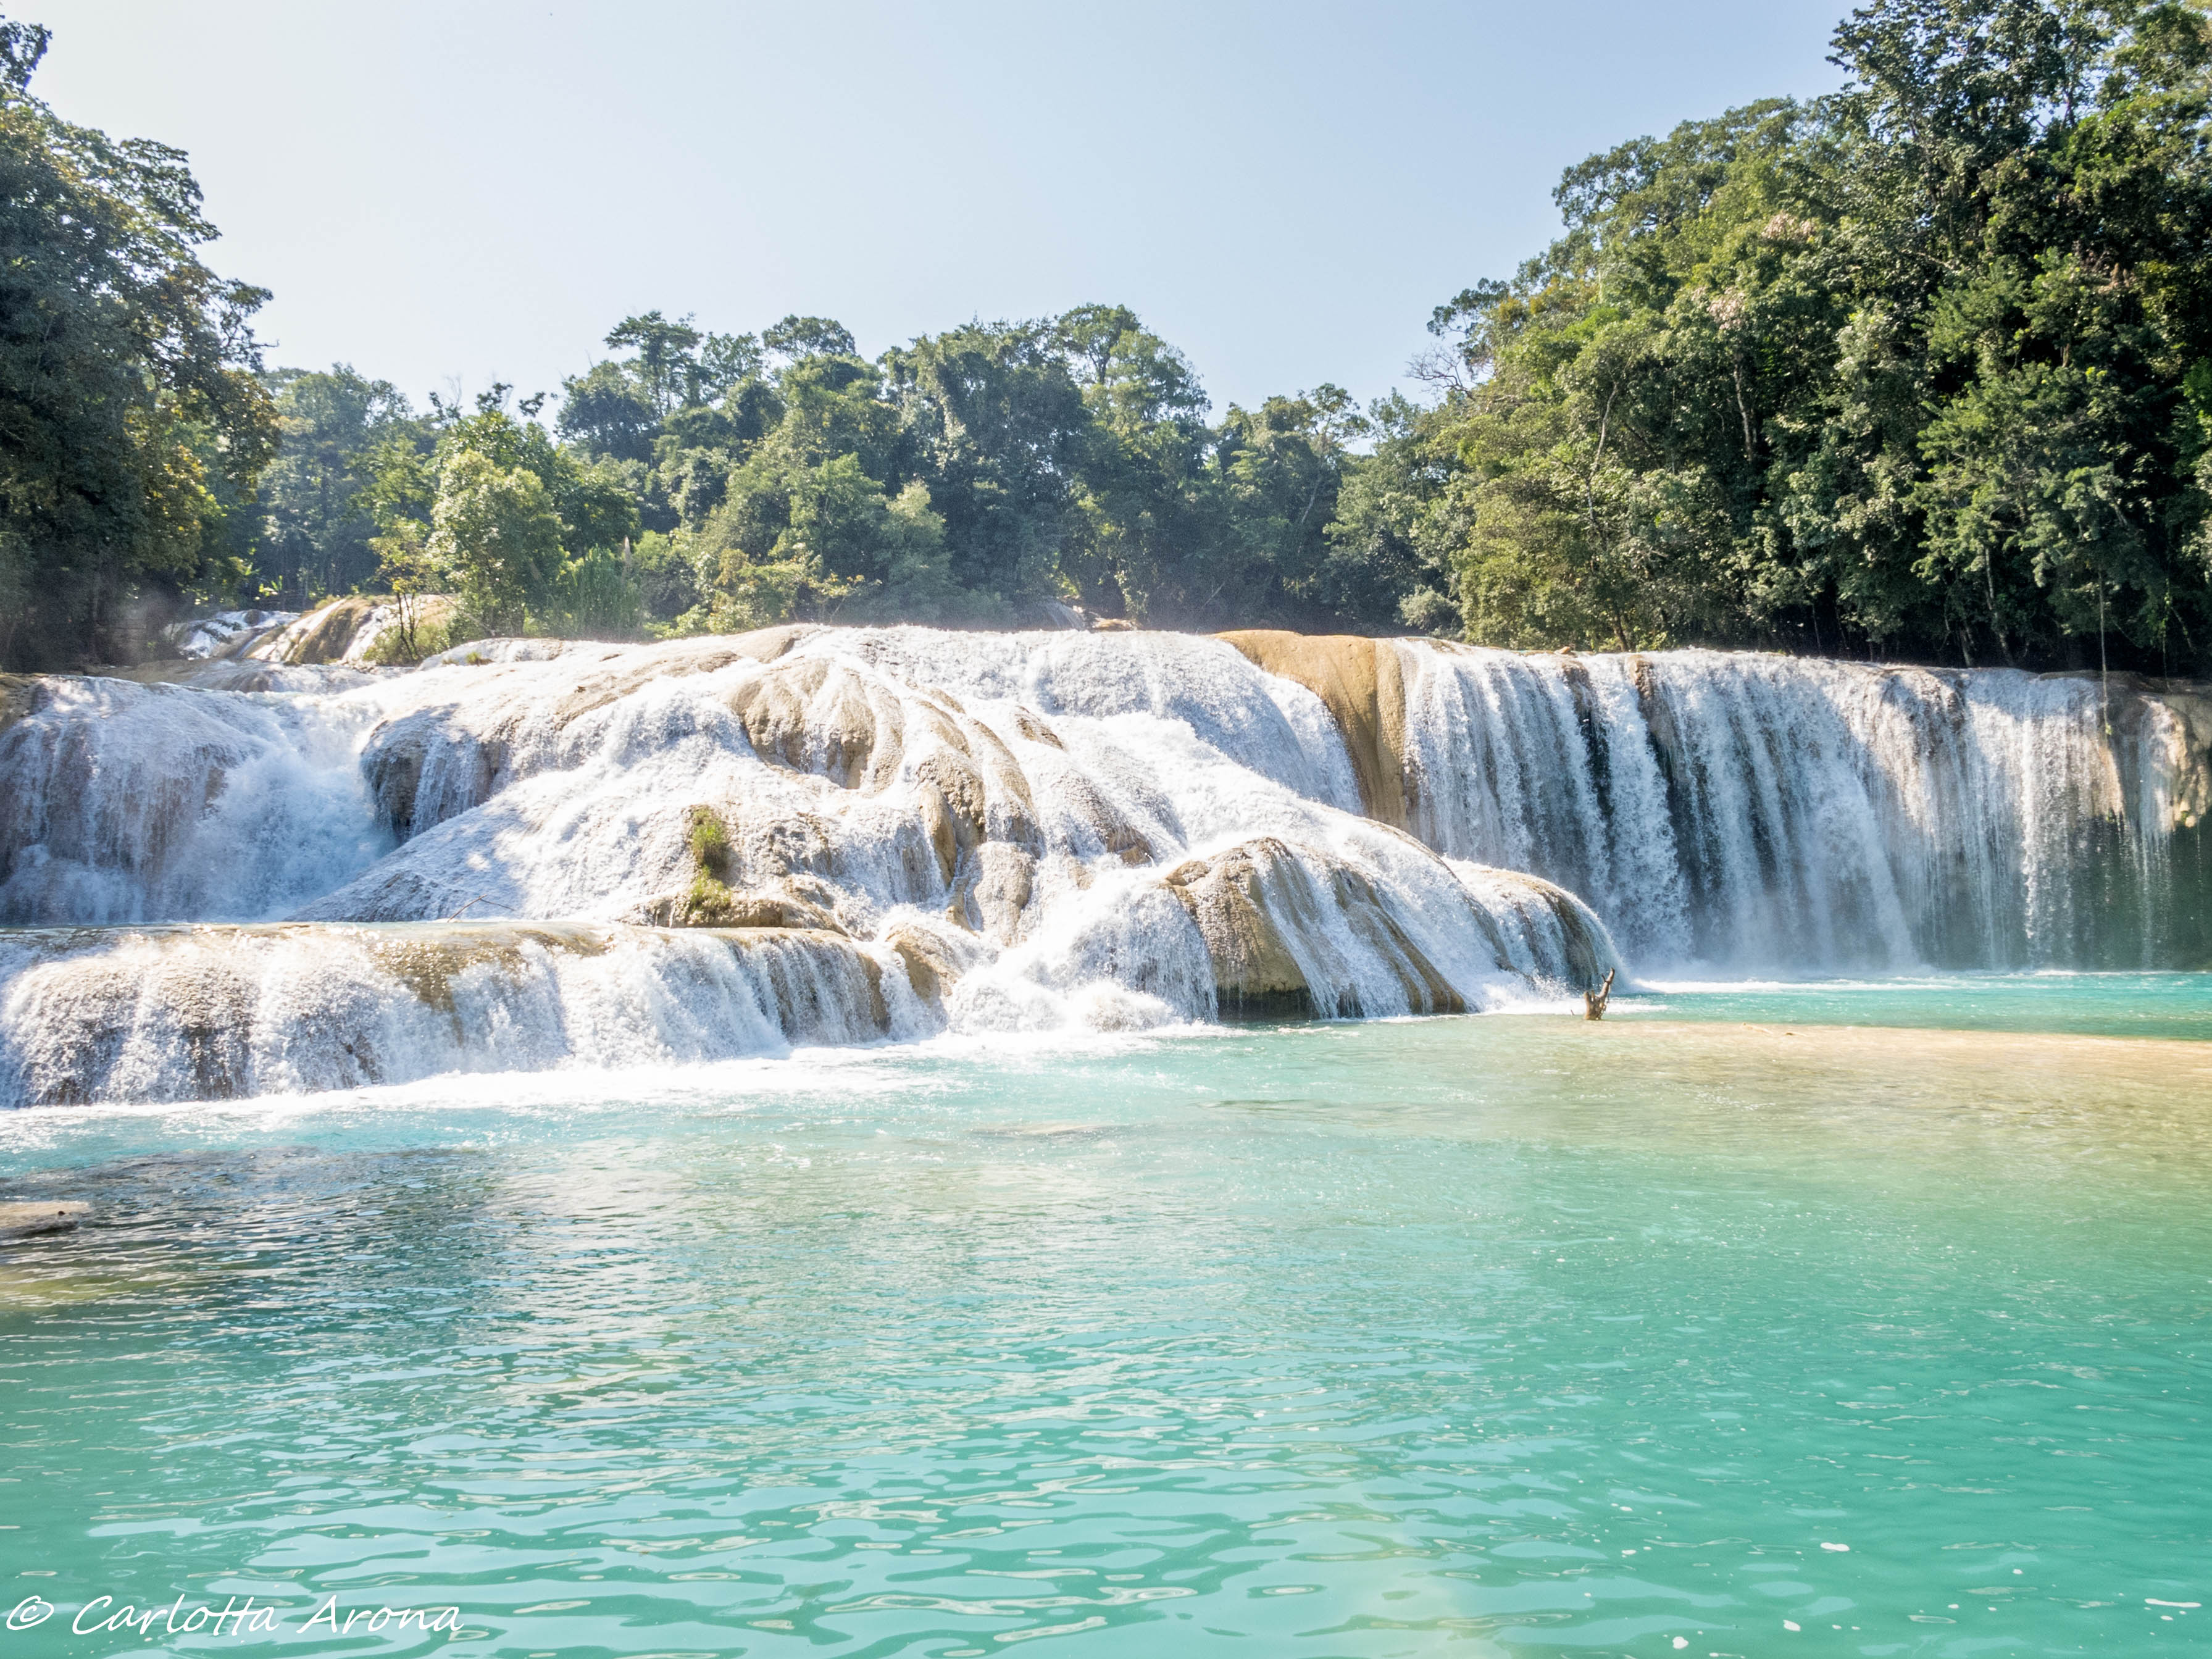
    The waterfalls were simply amazing and not crowded at all! It was the beginning of February, the low season had started.

    There is a nice walk you can do to observe the falls from different angles and plenty opportunity for pictures (and selfies).

    The name simply translates to Blue Water Waterfalls. And you can certainly see why that is. The colour is simply blinding. We were lucky to have caught a very sunny day for our trip. Which was also the only day we could go since it was our last day in Chiapas before going back home to Tulum.

    img_4264

    The day turned out to be a very long and tiring one. So if you have the time, I would recommend to take your time and maybe do it yourself without a tour.

    You can easily get to the waterfall one day, then spend the night in a hostel near Palenque and visit the archaeological site the next day.


  • Who is Afraid of Heights?

    Who is Afraid of Heights?

    Only one hour away from Tulum is the archaeological site of Coba.

    There are many Maya lost cities in Mexico and each one is different.

    Coba is no exception. It is a relatively large site, settled among a lush jungle. What makes Coba a little bit more special, is that it is the only archaeological site in Mexico where you can still climb up to the main pyramid.

    Only for this, Coba is worth visiting. The climb up can be a little intimidating especially for the ones with a low tolerance of heights (like me).

    Well, I did it! Very proud of myself for that. Twice. Both times I visited Coba (at a distance of 6 years apart one visit from the next), I managed to climb all the way to the top.

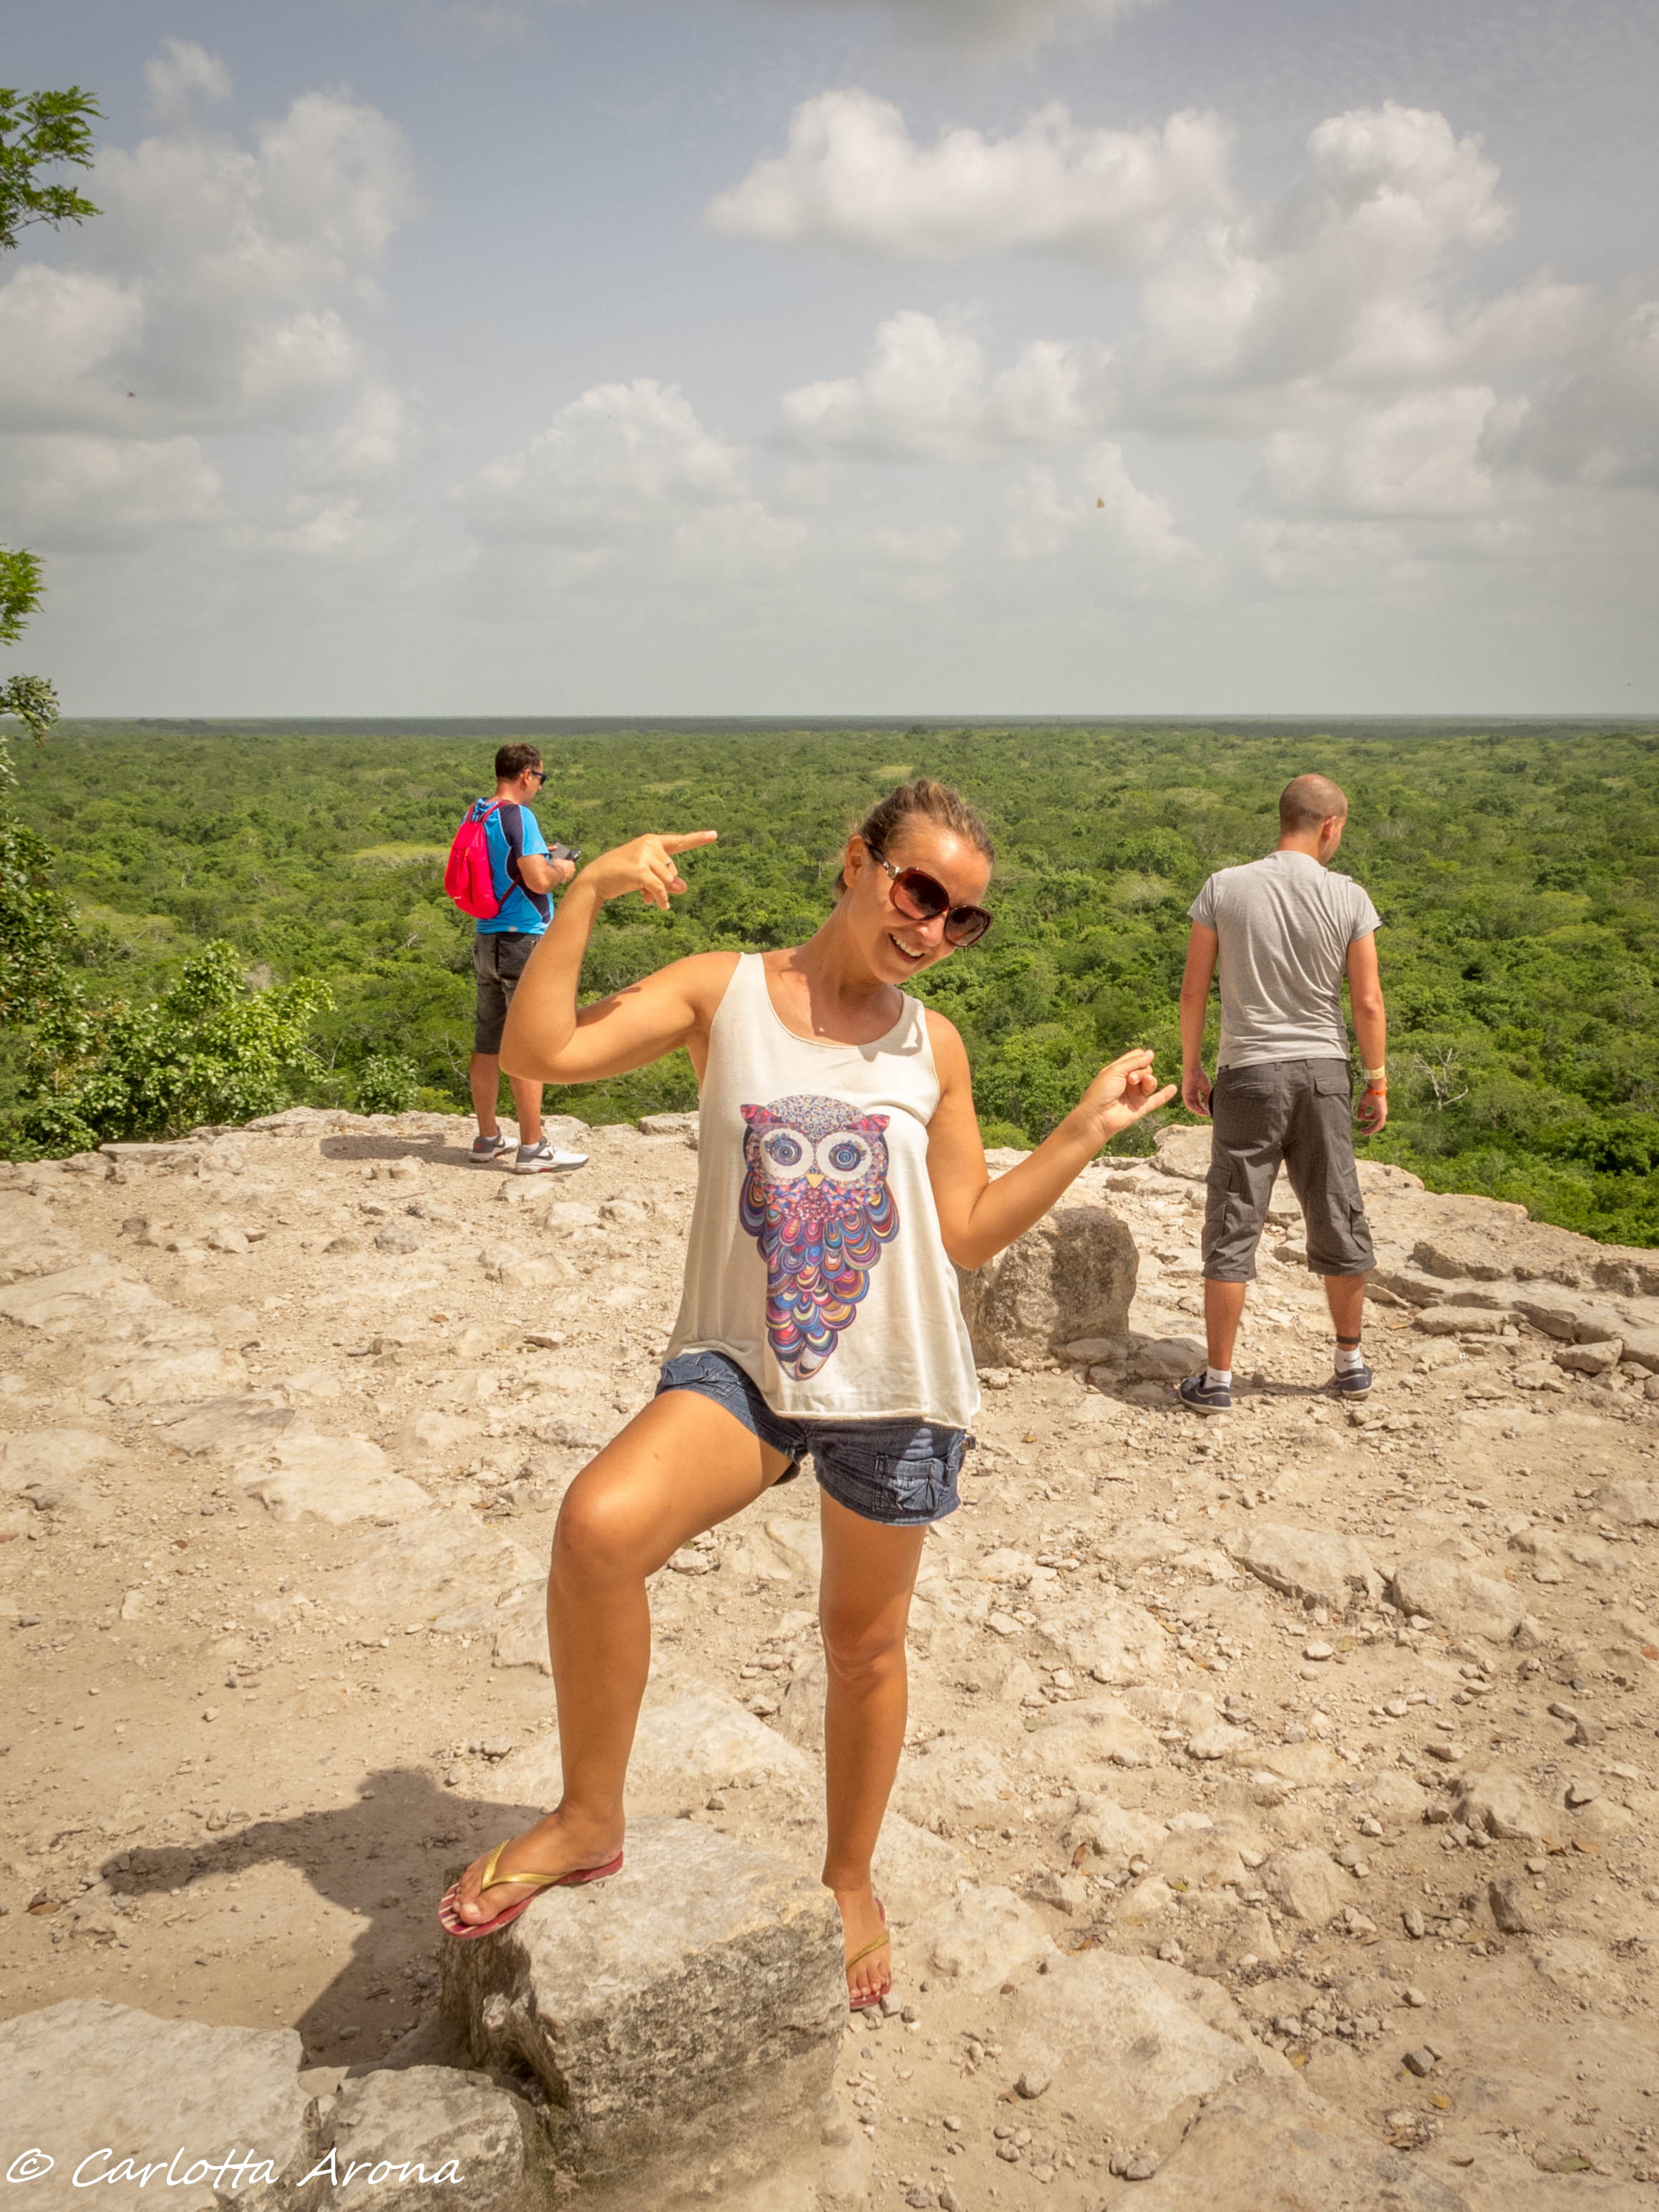
    The trick is, do not look behind you or down otherwise it is over. Once you are at the top, the view is priceless. It will make your effort totally worth it, plus you will have a great feeling of accomplishment. You will be on top of the world… well, at least on top of the jungle.

    IMG_3841

    Savour the view. Breath in the clean air. Free your mind from your thoughts and get ready for the climb down.

    On the way down it is a totally different story. I did the whole descent with my bum! Yes and I am not ashamed of saying so.

    You can visit the whole site in about a couple hours. The site can be explored by walking around or alternative can rent bicycles or hire a private tricycle taxi. The choice is yours.

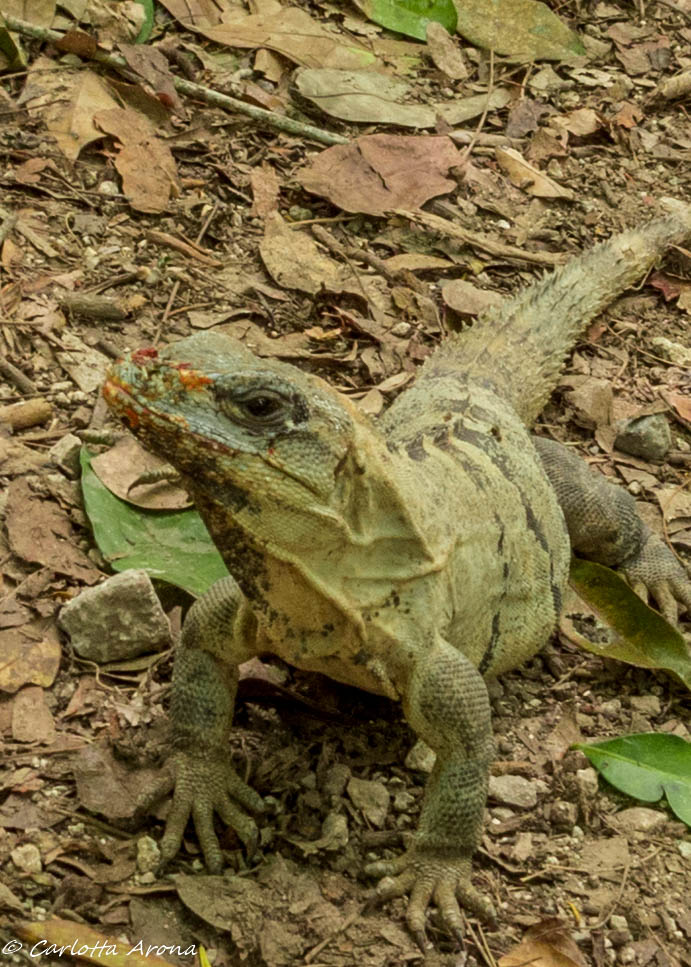
    Dom and I decided to walk around. You can encounter many little (and not so little) creatures along the way.

    IMG_3825

    Special Tips

    – Bring water
    – Bring mosquito repellent
    – Bring a hat
    – Bring extra cash

    If you are an independent traveler and do not wish to book one of the many touristy tours, you can easily go by yourself (like Dom and I did).

    How to get there

    From Tulum: catch the ADO bus from the bus terminal in town. There is only one bus to get there in the morning at approximately 10 am and there is one bus to come back at approximately 3 pm.

    Journey time is approximately 1 hour each way.

    From Playa Del Carmen: catch the ADO bus from the bus terminal in town. There is only one bus to get there in the morning at approximately 9 am (it is the same bus that will stop in Tulum) and there is one bus to come back at approximately 3 pm.

    Journey time is approximately 2 hours each way.

    You can check ADO bus timetable here on the  ADO website

    The bus will leave you at the ADO stop in the village. From the village is approximately a 10 minutes walk to get to the archaeological site. The walk is pleasant, you will walk by a lagoon where sometimes you can spot crocodiles.

    To take the bus back, you need to go back to the bus stop in the village.

    Entrance fee to the archaeological site approximately 65 pesos per person (not including guide). Guides are available for an extra fee.

    If you drive, there is a paying car park – cost approximately 65 pesos.

  • Pulau Weh – Where the Indian Ocean Meets the Pacific Ocean

    Pulau Weh – Where the Indian Ocean Meets the Pacific Ocean

    Pulau Weh was love at first sight. A place where time and stress do not exist. “Bagus!!!” As the locals would say which means “Good!!!”.

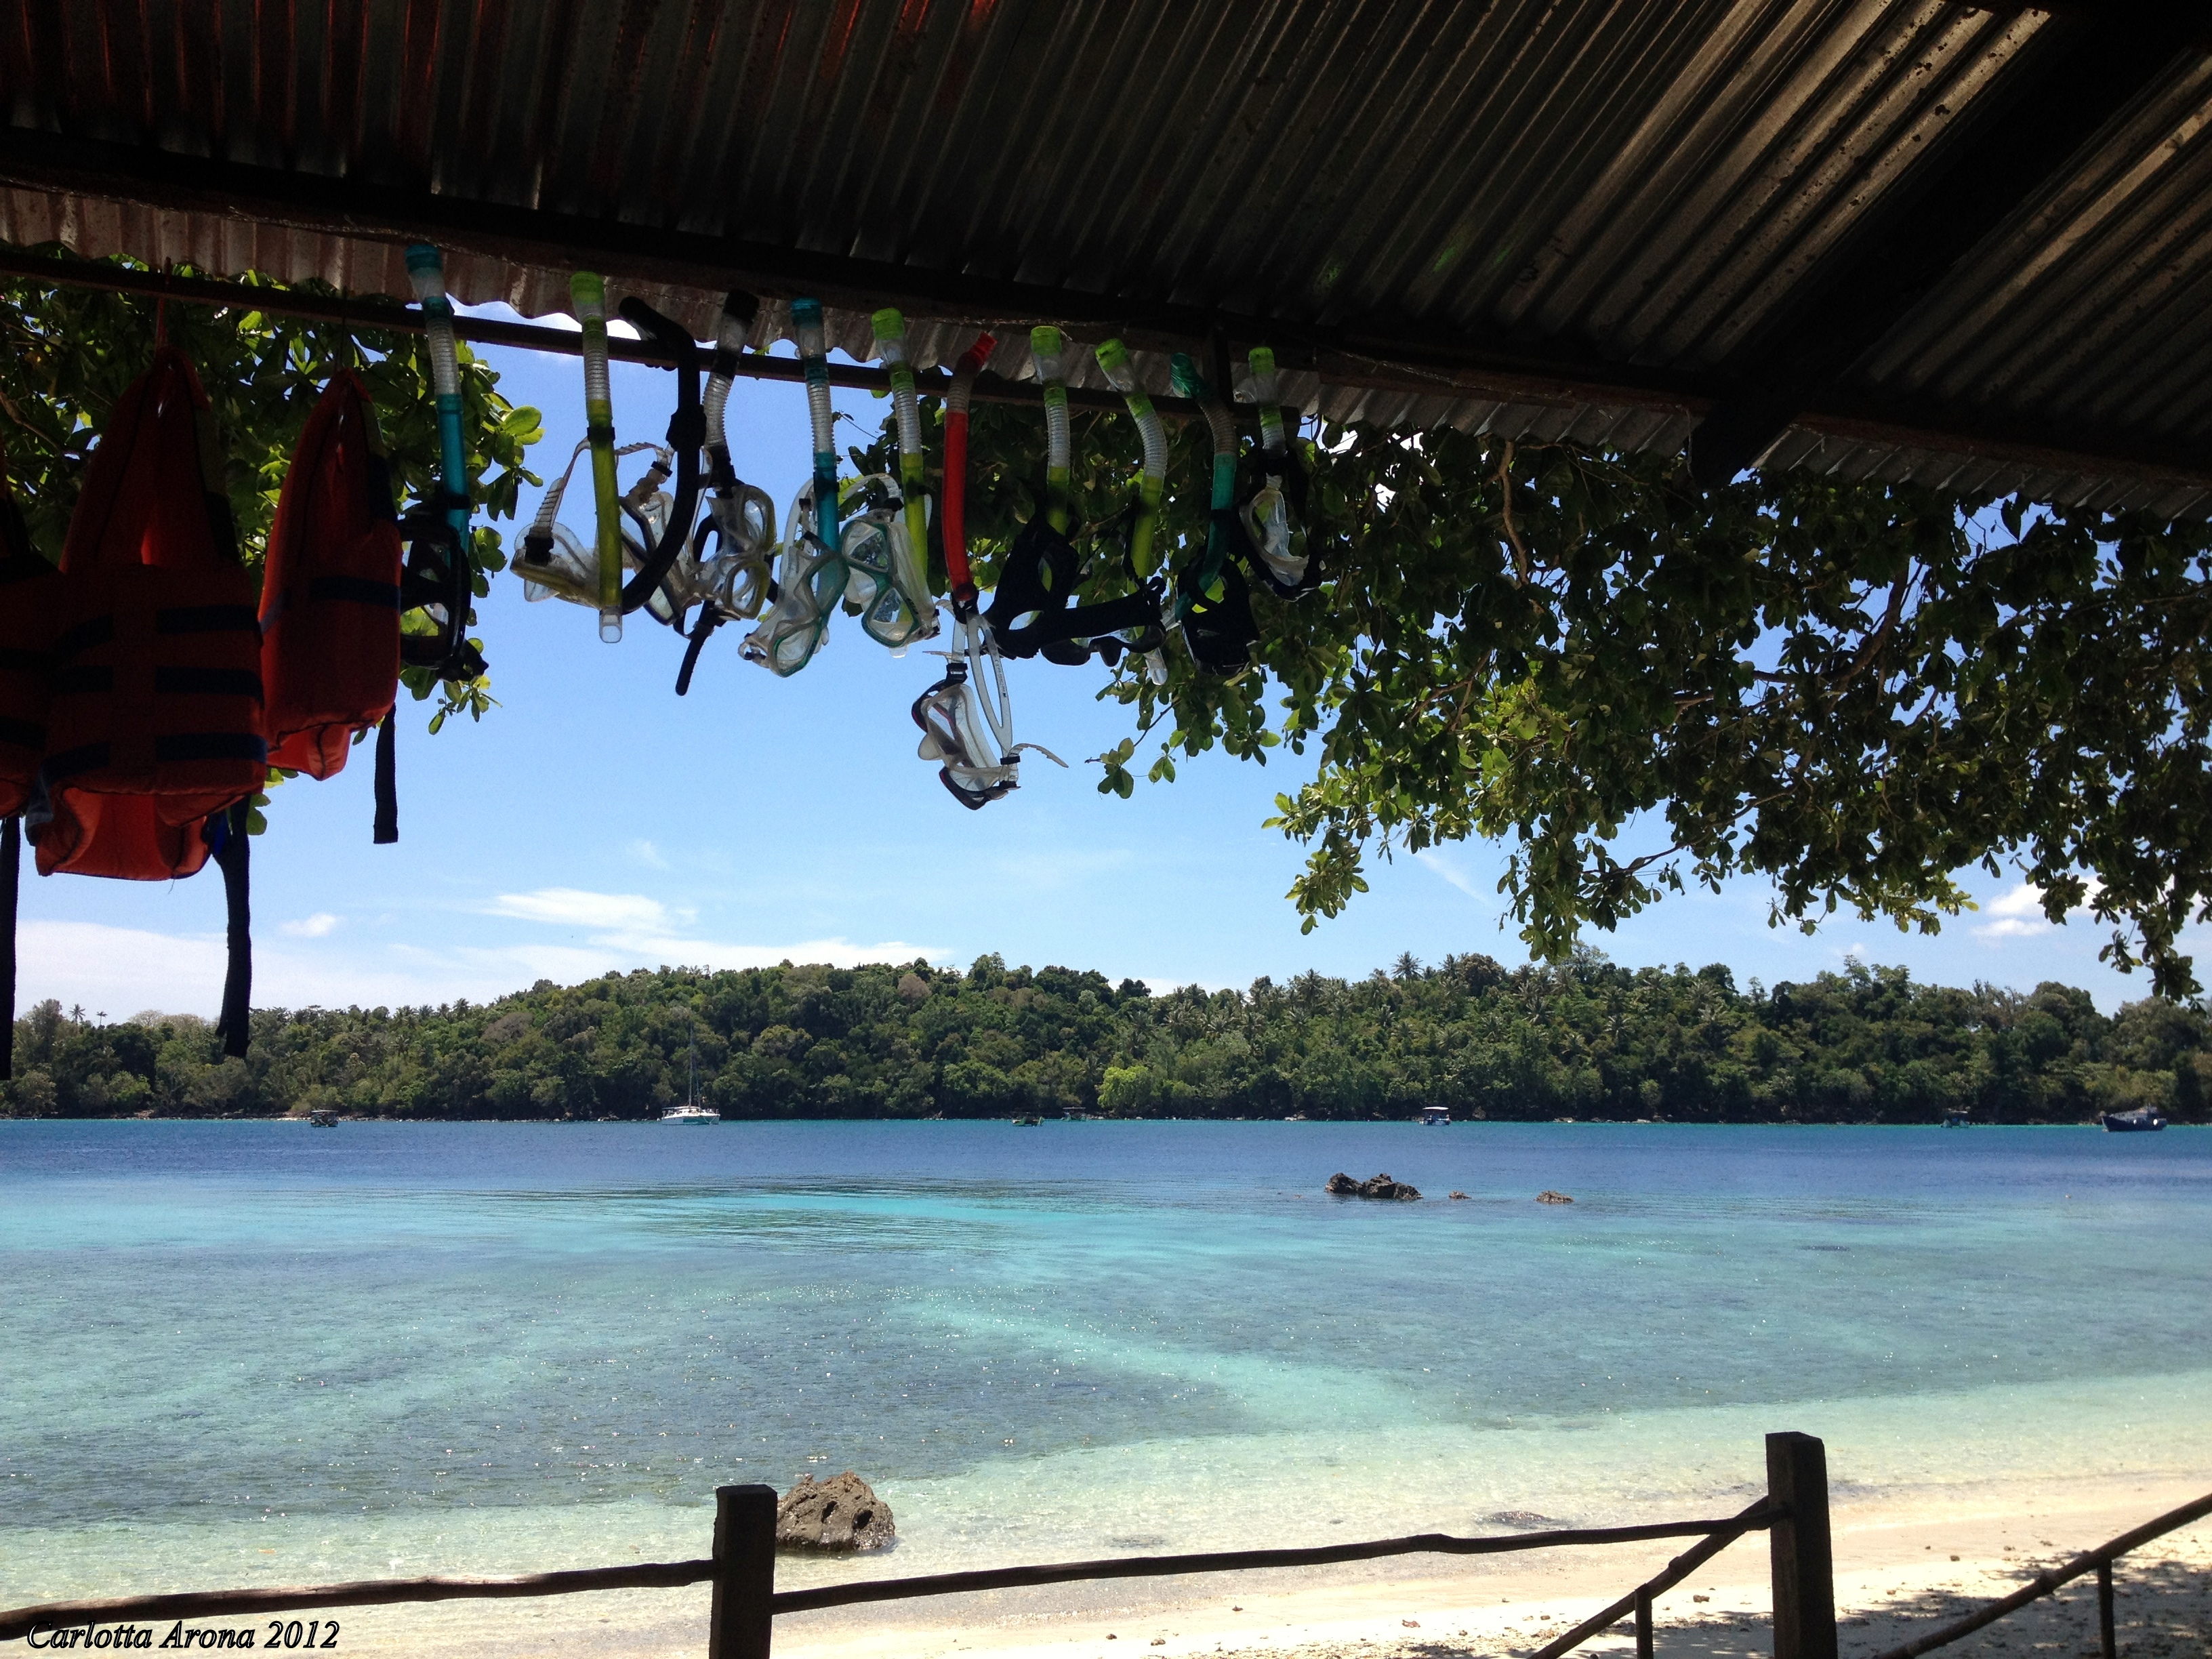
    Pulau Weh, Iboih Beach

    The island

    Pulau Weh is a small island at the very north tip of Sumatra, in the Aceh region. There is a point on the island called “Km 0” (Kilometer Zero) and this is apparently the extreme point of Indonesia where the country starts.

    Until a few years ago it was very difficult to reach the island since it was not very well connected to the local and international airports.

    To these days, tourism is not very well developed which is an awesome thing cause the island maintains its natural local beauty and it is the perfect place to chill out away from the busy world. However, it is easy to fly to Banda Aceh and from there catch the ferry to the island.

    Unfortunately Banda Aceh was very badly affected by the 2004 tzunami which destroyed most of the place. Pulau Weh was not so much damaged thanks to Rubiah Island just in front of it that act as a barrier to the wave.

    Dom and I had just finished a very busy working season in the Perhentian Islands in Malaysia and we wanted a place with good diving where we could relax.

    I had wanted to go to Indonesia for a long time, but for a reason or another I always ended up in other places. Now this was the right time for this adventure.

    Dom knew of Pulau Weh through friends that had been there and loved it, so he proposed it. I never heard of this island but it sounded awesome.

    Getting to Pulau Weh

    Off we went. We flew from Kuala Lumpur to Banda Aceh and caught the ferry to the island. We arrived on a rainy day but nonetheless we fell in love with this jewel island straight away!

    It was simply beautiful! Despite the rain, we hopped on a motorbike taxi that drove us from the ferry dock to Iboih Beach where I read it was the best place to find accommodation.

    We drove for about an hour under the rain through breathtaking settings! Up and down the mountains covered in jungle, we came across some of the best views ever.

    We ended up staying on the island for almost two months, chilling, diving and doing a little bit of freelance work at the local dive shop. We became part of the community, the locals made us feel at home!

    We loved Pulau Weh so much that five months later we went back and ended up staying for almost six months, again chilling, diving and working at the local dive shop.

    Diving in Pulau Weh

    The diving in Pulau Weh is simply amazing! Two Oceans meet here, the Indian Ocean to the east and the Pacific Ocean to the west. Visibility is always good, very rarely dropping below 15 mt and most of the time around 25 mt.

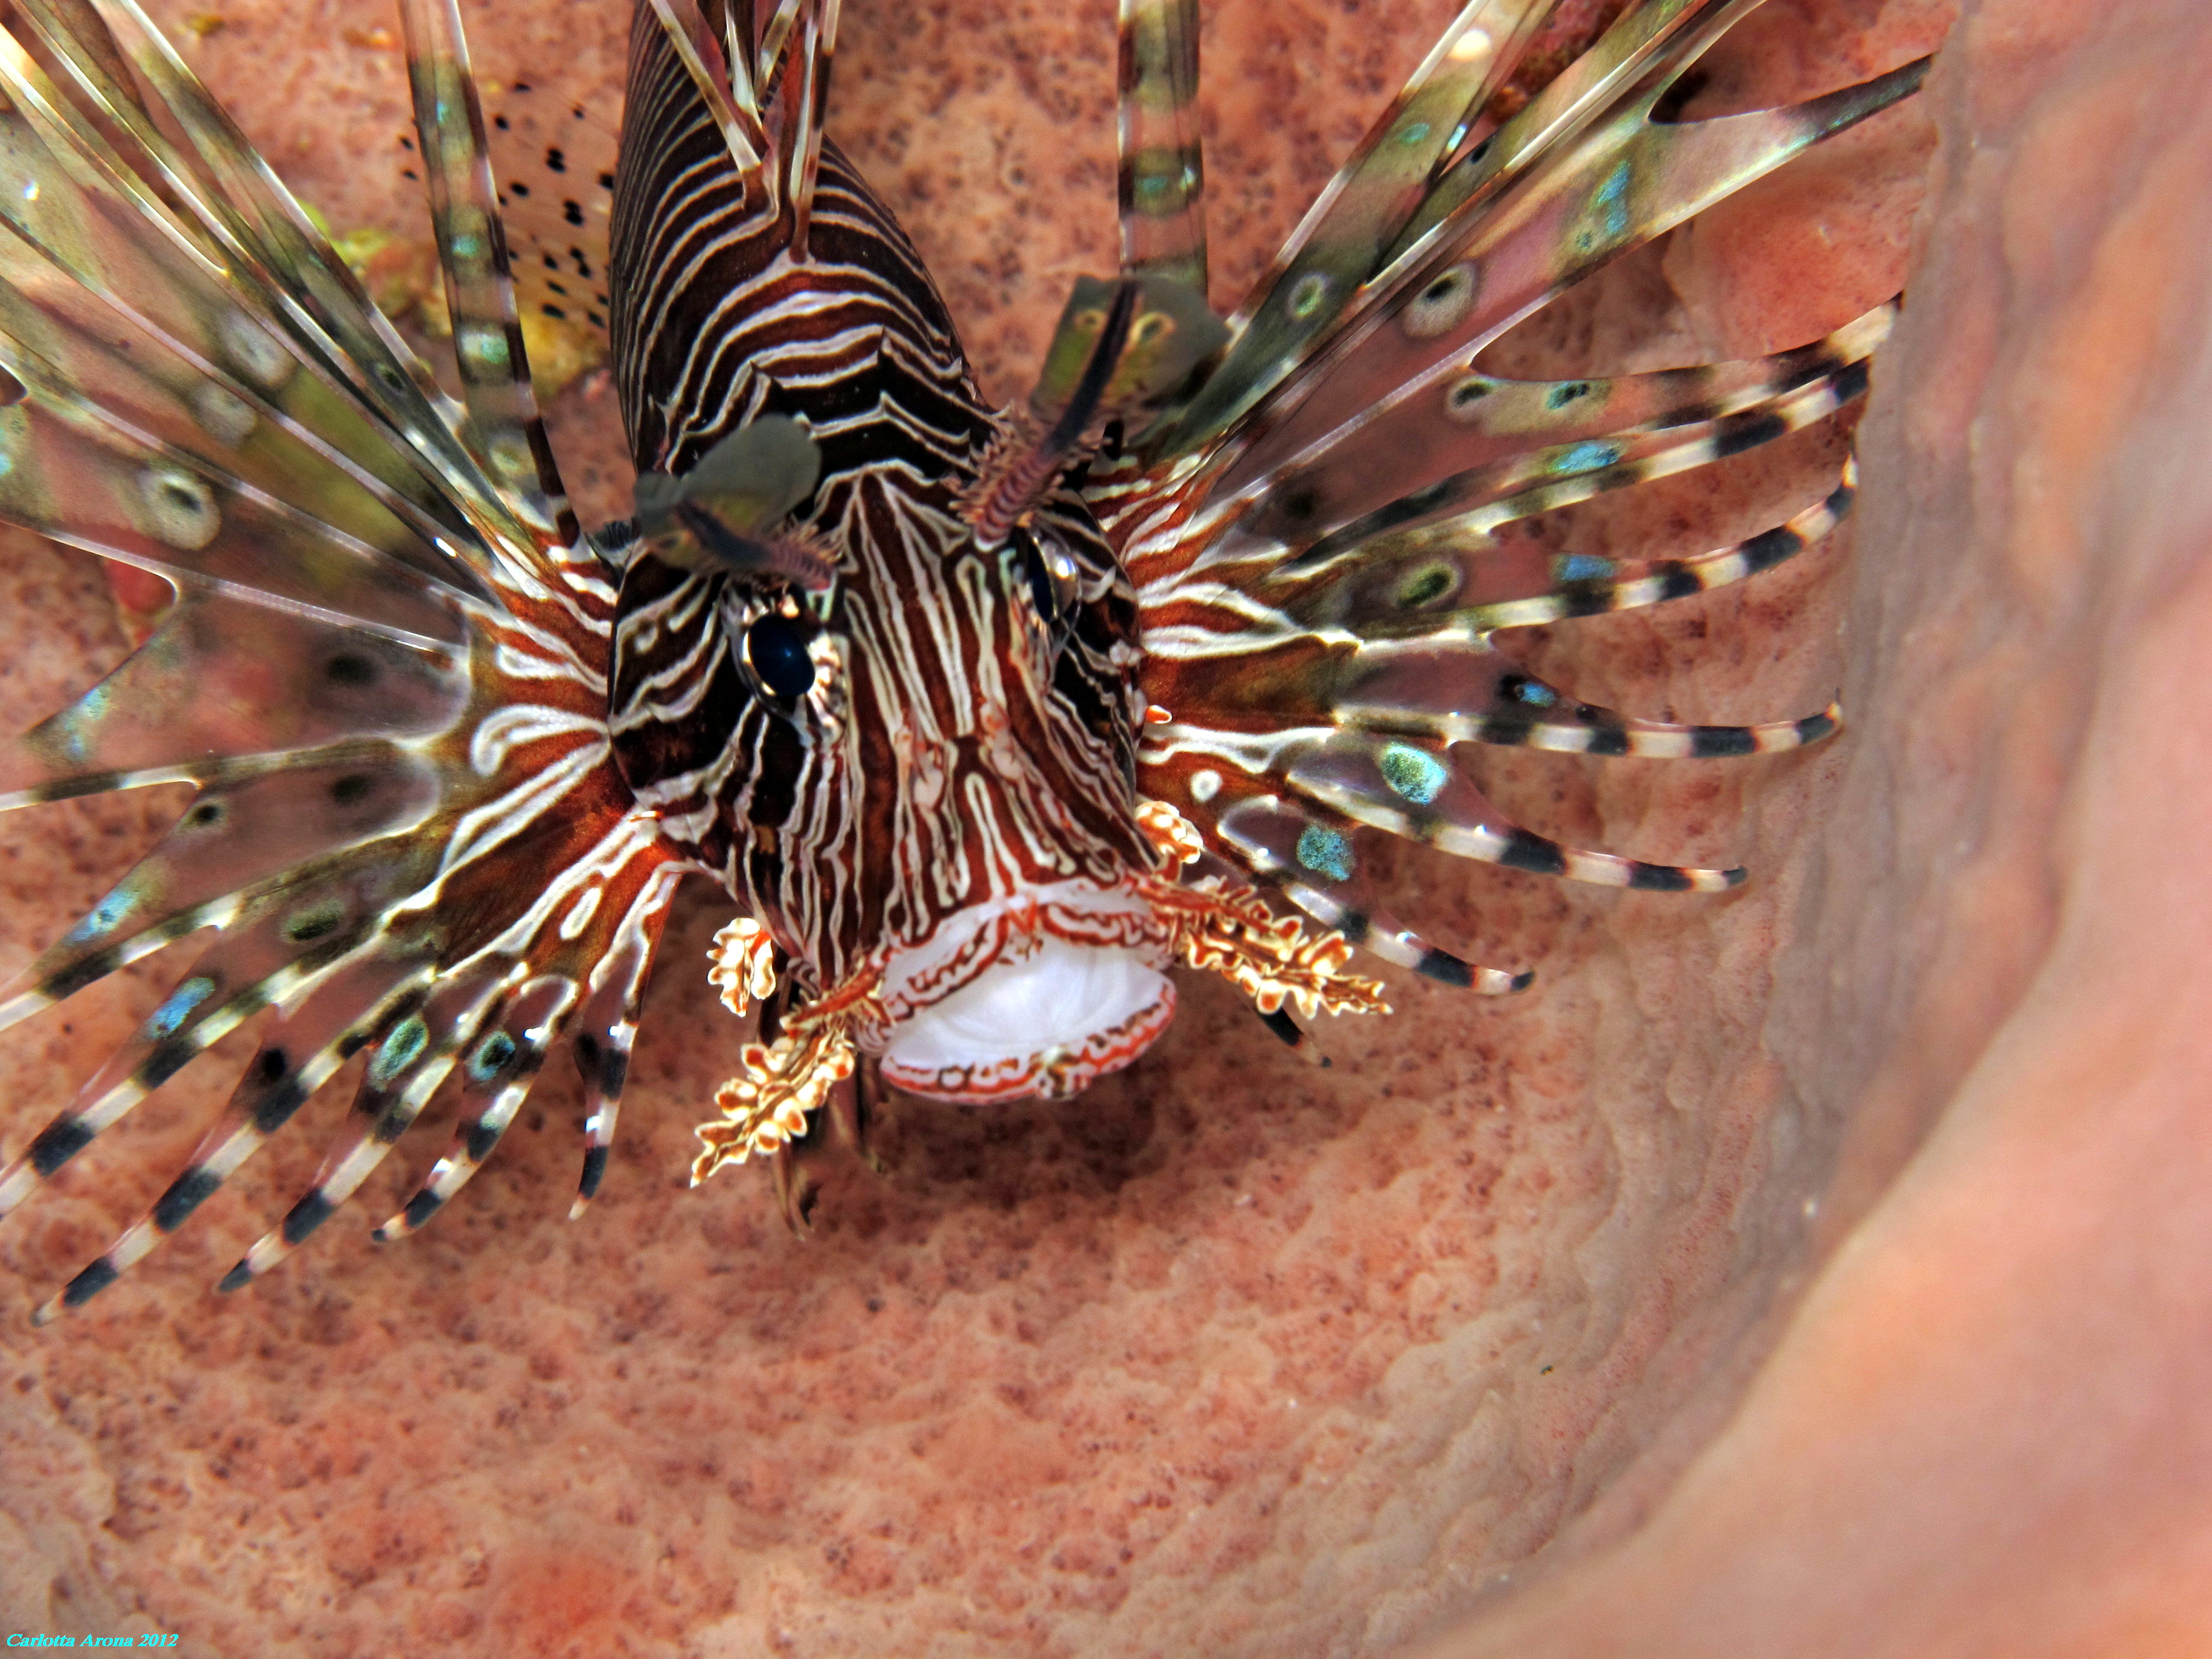
    Some of the most colourful marine species are found here, including the Juvenile Emperor Angel Fish, one of the cutest little creatures of the Oceans.

    On a lucky day you could come across a school of Mobulas (Devil Rays) or the giant of the Oceans the beautiful Manta Ray. If you are not so lucky you can still face an encounter with a slender, graceful Black Tip Shark.

    There are some of the best deep dives ever and some of the strongest currents ever (washing machine style, underwater rock climbing!!) for a little bit of adrenaline rush!

    Other things to do in Pulau Weh

    Pulau Weh offers much more than just diving. Waterfalls nested in the jungle, hot springs hidden away, and the most beautiful sunsets from Km 0. The best way to explore the island is definitely by motorbike.

    Rubiah Island lays in front of Iboih Beach and if the currents are not too strong in the channel between the islands, it can be easily reached by swimming. We spent some lovely days there, chilling, playing volleyball and snorkelling around.

    All this is surrounded by the most amazing local people and the tastier Indonesian food! Definitely a place to go back.